In this lesson, we will learn:
- Introduction to Tab View
- Setting up the Tab Bar Example Application (with Empty and Tabbed template)
- UITabBar
Introduction to Tab View
From the following sample of Tab View searched from Internet:
We can find that the UITabComponent is located at the bottom of the screen.
For each content view, we should associated a view controller to handle user interaction and display updates.
In the context of a multiview application, this is known as the root controller and is responsible for controlling which content view is currently displayed to the user.
We can create a tab view application by 2 different templates: Tabbed Application and Empty Application.
Setting up the Tab Bar Example Application (with Tabbed)
Step#1: To create a new Xcode project with Tabbed Application
Follow Lesson #1 - Hello World to create a new Xcode project named "TabView" with the template "Tabbed Application".
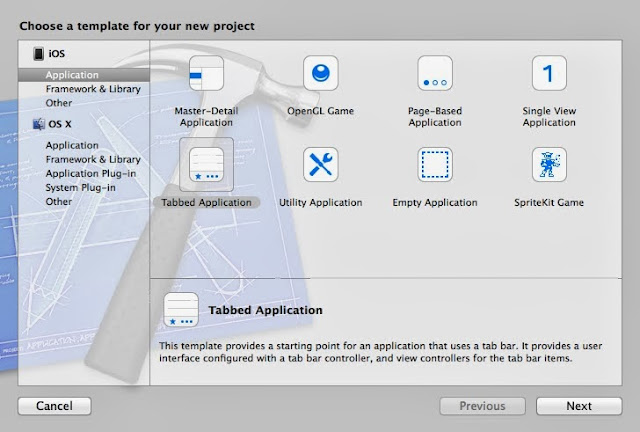 |
| Tabbed Application template |
 |
| project name as "TabView" |
By default, 2 sets of View Controller files are created (.m & .f files) and you can also find 2 View Controller objects are linked with the Tab Bar View Contoller in main.storyboard.
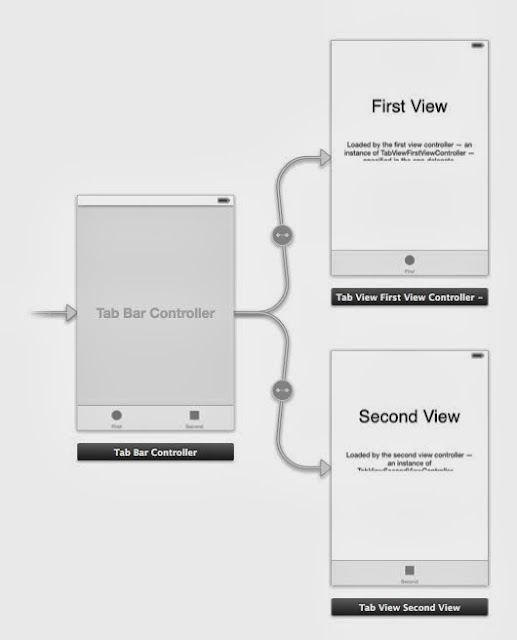 |
| storyboard |
Step#2: Run and Compile
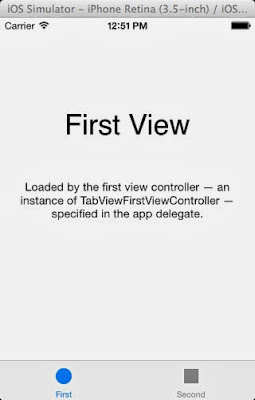 |
| Tab 1 |
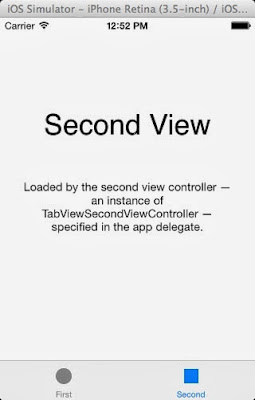 |
| Tab 2 |
Setting up the Tab Bar Example Application (with Empty)
Step#1: To create a new Xcode project with Empty Application
Follow Lesson #1 - Hello World to create a new Xcode project named "TabBar" with the template "Empty Application".
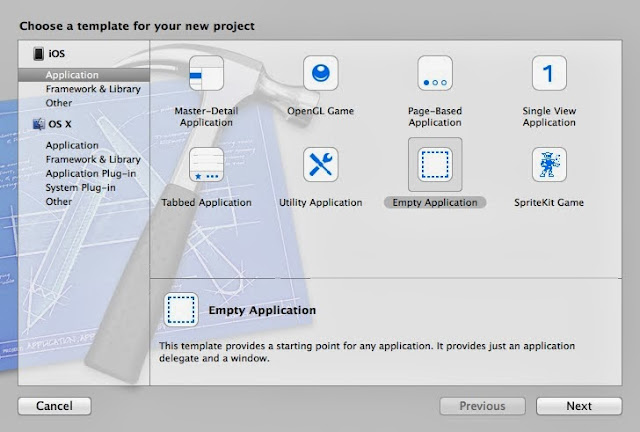 |
| Empty Application template |
 |
| project name as TabBar |
Step#2: To create a new Storyboard object
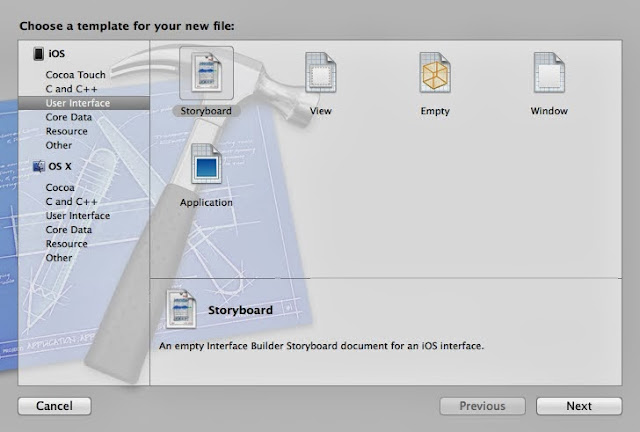 |
| create a new Storyboard file |
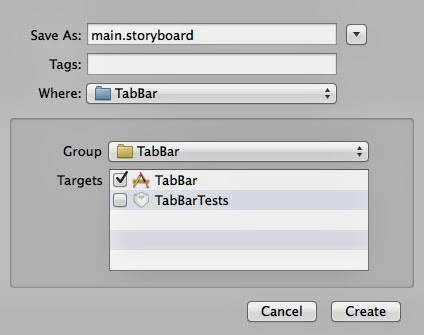 |
| name the storyboard as "main.storyboard" |
Step#3: To drag a Tab View Controller into Storyboard
Drag a Tab View Controller object into main.storyboard. By default, it includes 1 Tab Bar Controller and 2 View Controller objects with linkage.
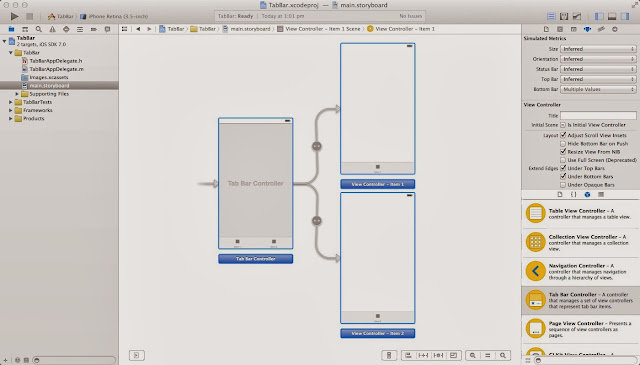 |
| Drag a Tab View Controller |
Step#4: Run & Compile
Why empty shown in the screen?
Step#5: Configure the main interface
Configure the main interface under deployment Info with "main".
Step#6: Edit the TabBarAppDelegate.m
Comment the following 2 statements inside the method didFinishLaunchWithOption:
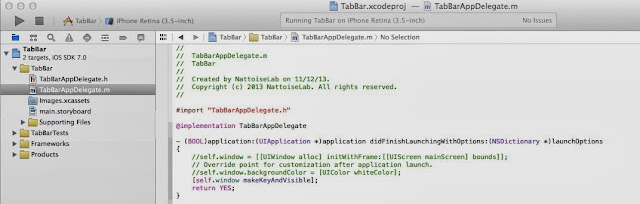 |
| TabBarAppDelegate.m |
Step#7: Run & Compile
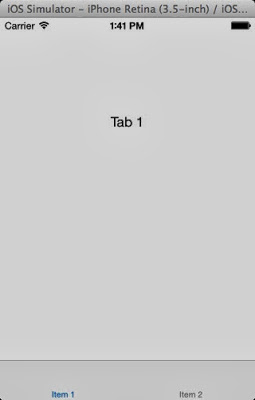 |
| Tab 1 |
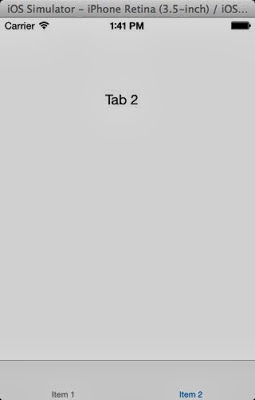 |
| Tab 2 |


No comments:
Post a Comment