To create a new Xcode project name "TableView" with a "Master-Detailed Application" template.
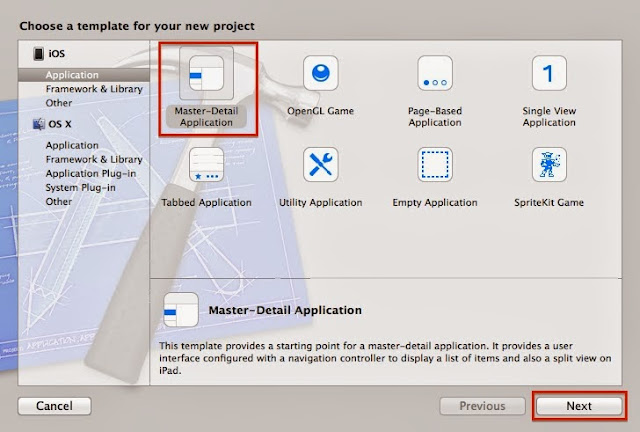 |
| Master-Detail Application Template |
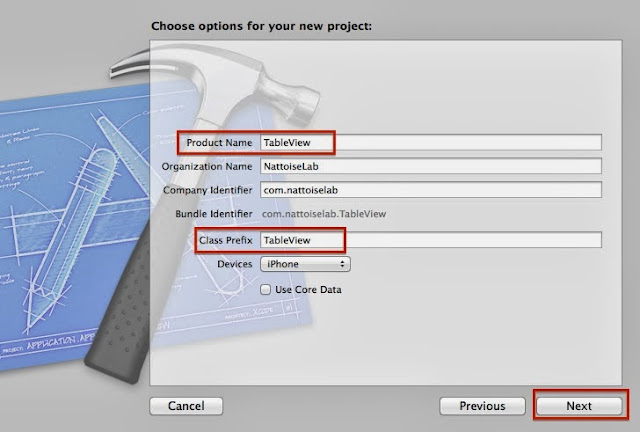 |
| Save project name as "TableView" |
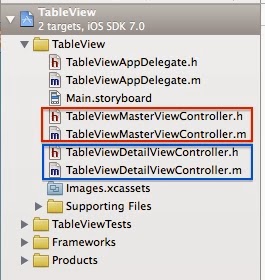 |
| project file structure |
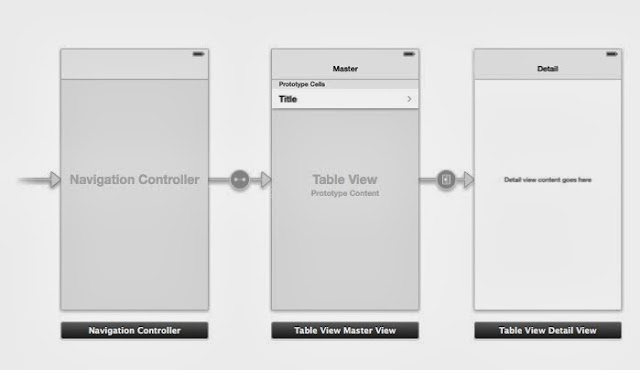 |
| default storyboard |
Step#2 - Run & Compile
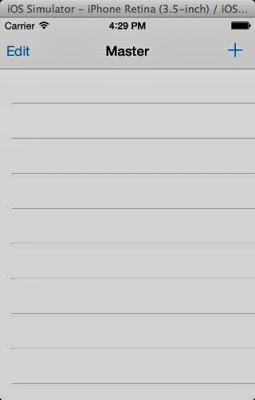 |
| Master scene |
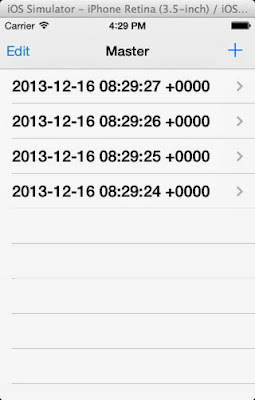 |
| Add a new record (row) by clicking the add button "+" in the right of navigation bar |
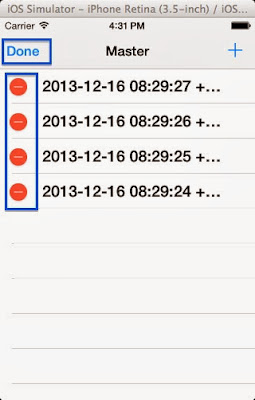 |
| Clicking the Edit button in the left of navigation bar so that "-" icon will be shown in the left of each record (row) |
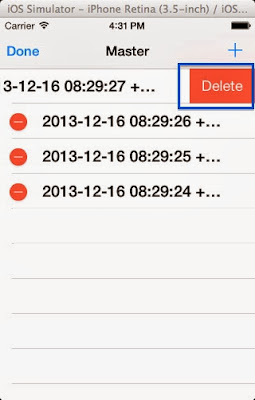 |
| Clicking the "Delete" button in the right of specific record (row) to confirm the deletion |
Step#3 - Storyboard
|
|
Change the Master Title in storyboard
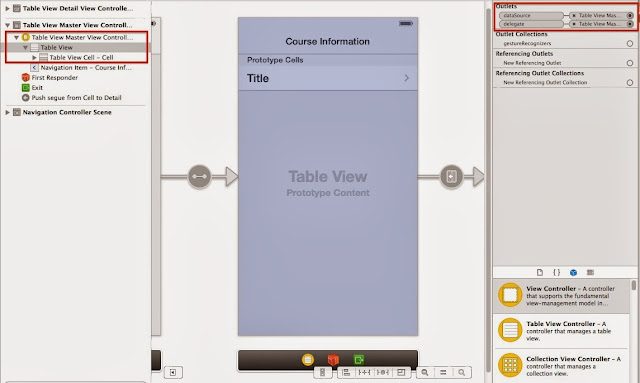 |
Step#4 - Edit xxxMasterViewController.h
 |
TableViewMasterViewController.h
|
Step#5 - Edit xxxMasterViewController.m
1. To import #import "TableViewDetailViewController.h" in TableViewMasterViewController.m, so that all variable objects declared in Detail class can be viewed in Master class.
2. To declare a NSMutableArray object named "*_objects" in @interface of .m class.
* Notes:
The variable declaration in @interface of .m class is as same as that declared in .h class. The only difference between two ways is no need to code @synthesize in .m class when those variables declared in @interface of .m class and cannot be called by other ViewController classes.
3. To hardcode the array objects inside the method -(void)viewDidLoad of TableViewMasterViewController.m class.


No comments:
Post a Comment